AR-10™ Lower Receiver
Note:
The AR-10™ is a registered trademark
of Armalite.
Now that I had machined an AR-15 lower receiver, upper receiver and the handles, I had to put all the parts together into a rifle. After doing so, I had a rifle that I was really proud of. I often took the rifle out to just plink around with. I done this for several weekends, until I realized that I needed more POWER. I love the AR-15, but I wanted to really feel a kick after each shot. Since I wanted to keep the AR look, I decided to go with an
AR-10™. The AR-10™ shoots a .308 cal round which is much more powerful than an AR-15 .223 round. The AR-10™ is very rare compared to the AR-15, so you can imagine finding the solid model file of the AR-10™ would be even more of a challenge, since there are only a few manufactures of .308 cal AR type rifles. I searched and searched for the AR -10™ solid model, but I came up empty. So I decided I would just have to make my own AR-10™ solid model. I got my hands on a real AR-10™ lower receiver, and I started taking dimensions to make the solid model. I think I spent more CAD time on this receiver than all my projects put together. But after several weeks of taking measurements and double checking my work, I finally had an AR-10™ solid model. I used an Armalite AR-10™ receiver to take my measurements from, so the model I made will accept modified M14 mags. M14 mags are much more expensive compared to the FAL mags, but since Armalite uses modified M14 mags in their
AR-10™'s, I thought I'd do the same instead of having to redesign the receiver to accept FAL mags. After I had the model finished, I spent another few weeks just going over how I was going to go about machining the receiver. I decided that the AR-10™ was really close to the AR-15, so the machining should be done in the same manner. In this project I will show a few progress pics, but if you have any questions about how I done something, you can just refer to the AR-15 lower receiver that I machined, since I will be taking the exact same steps.
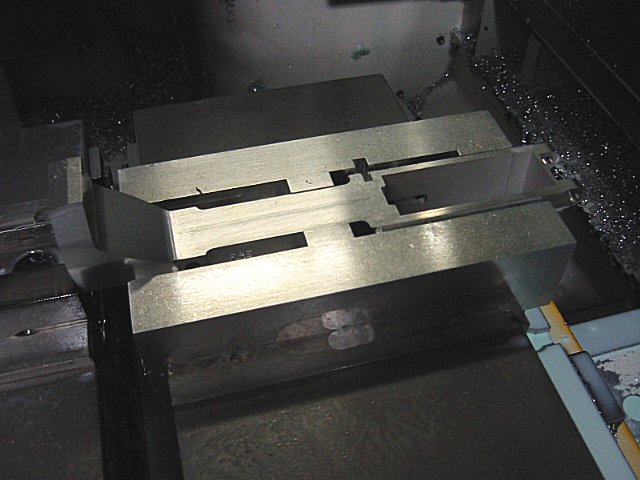
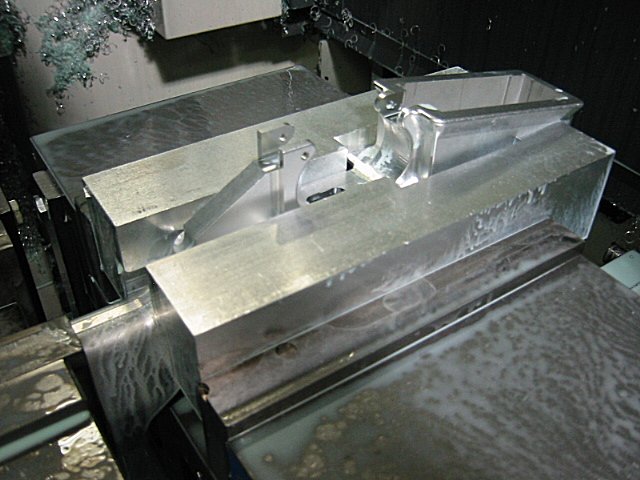
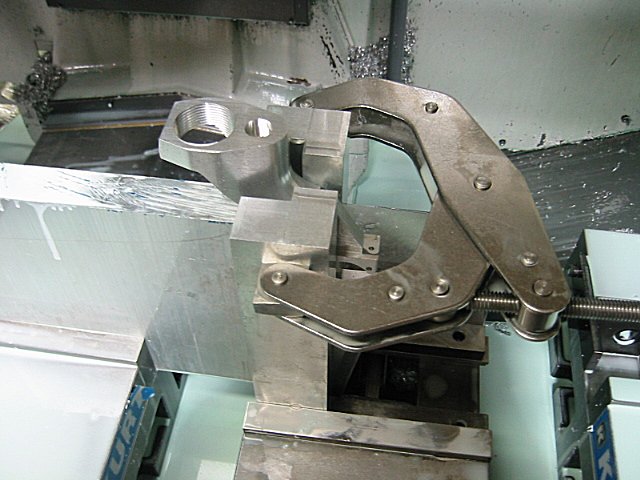
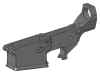
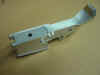
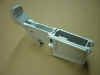
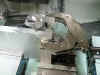
Here is a pic after the 1st operation was finished...
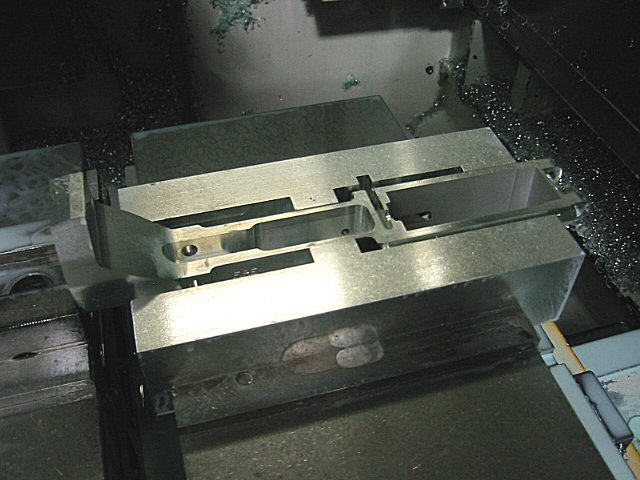
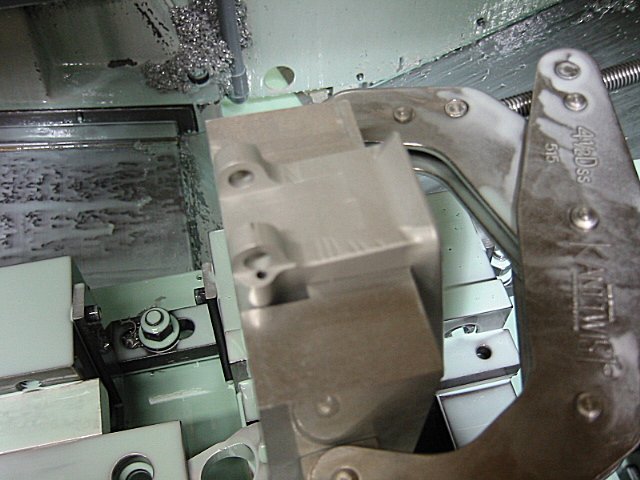
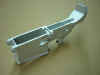
Here's a pic from a different angle...

Since the machining of the AR-10™ is so much like the AR-15, I didn't take a pic of the 2nd operation. But I did do it exactly the same way I did the AR-15. One of the main differences between the AR-10™ and the AR-15 is that the AR-10™ magazine (mag) well in cut at a 3 degree angle. This would cause a problem for me since this would add an additional 2 operations in the machining of this lower. It would be fairly difficult to set the receiver up on a 3 degree angle to machine the top side of the mag well and then flip it over on the same 3 degree angle and machine the bottom of the mag well, while trying to match up the mag well cuts. Like I've said before most companies use an EDM machine to wire cut the mag well, and I thought I'd do the same with this
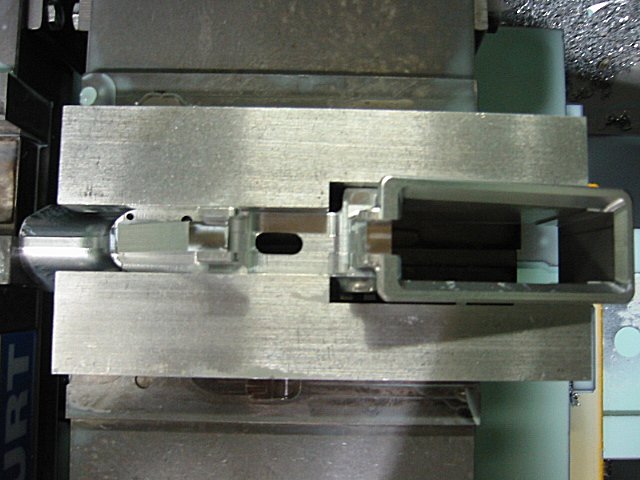
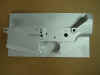
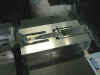
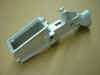
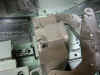
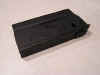
AR-10™. We don't have an EDM machine at the shop, so I had to have this cut by a local machine shop. This was pretty expensive to have done, since the guy had to set the EDM machine up and only cut a few receivers. But I think it was well worth it, since I didn't have to fool with having to figure out a way of cutting the 3 degree mag well. I was very happy with the cuts the EDM machine made, the mag well was perfect! Below is a pic of what the receiver looked like after the blank was cut out of the mag well. Notice the hole I had to drill in the mag well. This hole is where they started the wire cut. Since you can't plunge into raw material with a wire, there must be a hole for a starting point...
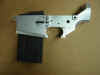
This is what the receiver looked like when the mag well blank was removed...

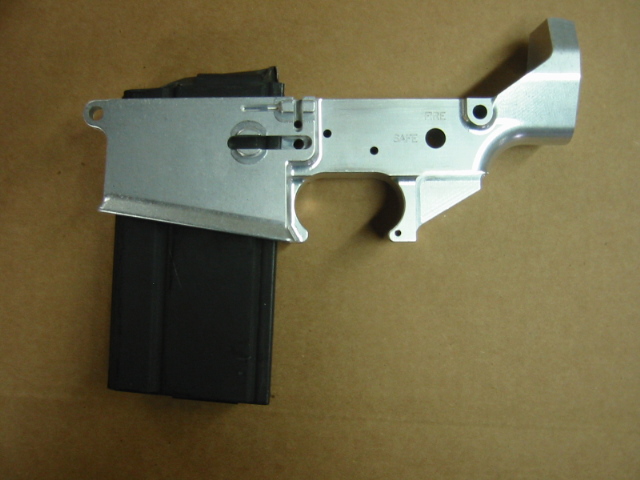
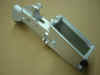
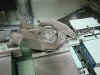
Here is what the receiver looked like with the mag inserted. You can kinda see how the mag sets at a slight angle compared to the receiver. This 3 degree angle that the EDM machine ended up being exactly perfect.
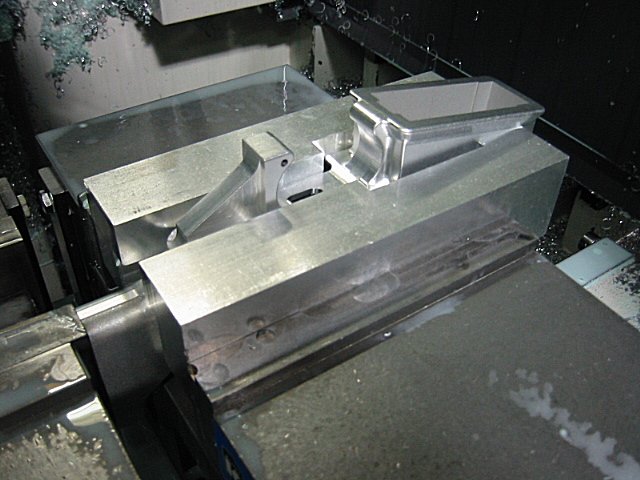
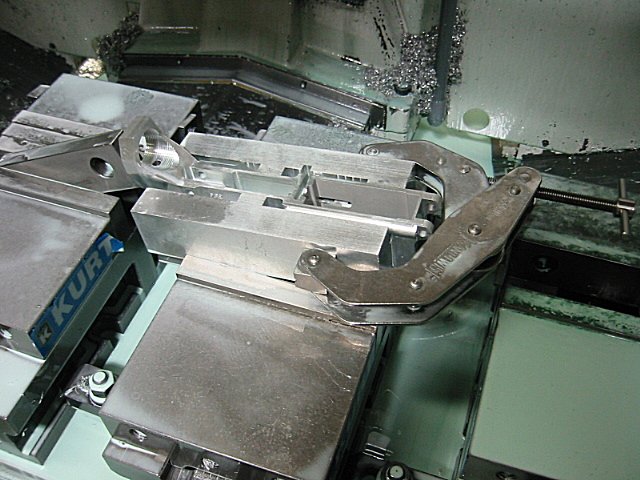
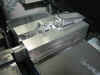
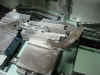
After I had the mag well cut, I was ready to start back on the machining. Here is what the 3rd operation setup looked like...

And here is what the receiver looked like after the 3rd operation was finished...
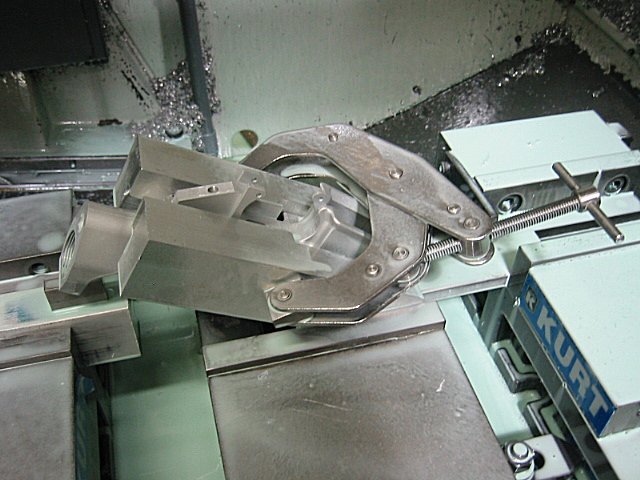
Here is the setup I used for the 4th operation...
Once again, here is the pic after the 4th operation was finished...

Here is a pic at a different angle...

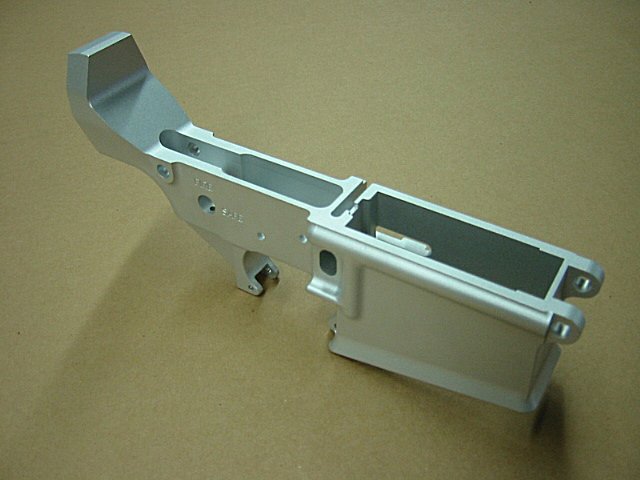
I was really proud of the work I done to this point, so I decided to bead blast the receiver and take some good pics. Here is what the right side looked like...
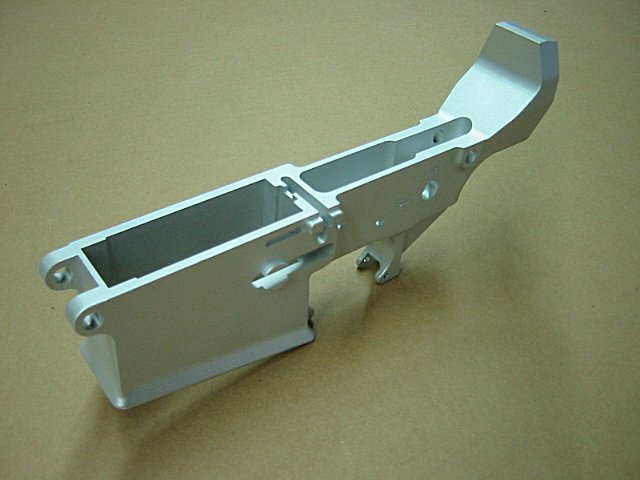
And here's the left side...
Here's the bottom left side...
And here's the bottom right side...
Back to the machining. Here is the setup for the buffer hole...
And here's the setup for the front detent hole...
Here's the setup for the hole that holds back the buffer...
This is the setup for the pistol grip hole...
At this point I was pretty much finished with the AR-10™ lower receiver. But I had a problem, I didn't have a mag for this new receiver. So I bought an M14 mag and milled the slot in the side so the mag catch in the AR-10™ could hold the mag in the receiver. You don't HAVE to have the mag mod kit to use a M14 mag in an
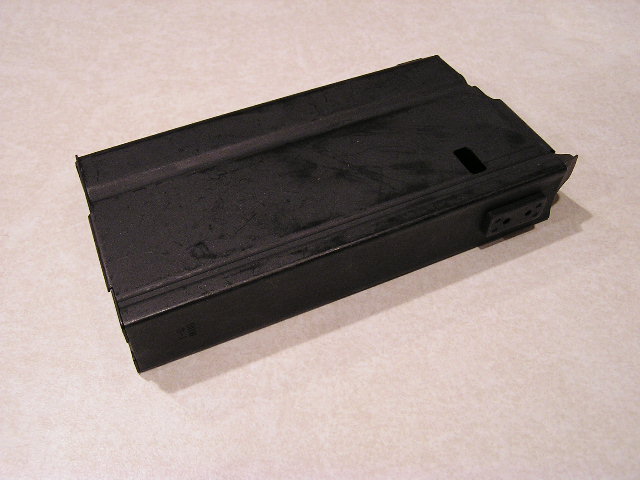
AR-10™, but you will have a problem feeding the last round in the mag, since it still has the M14 follower. Since I didn't want to have any feeding problems, I went ahead and bought the mag mod kit so I could have the correct follower. The pic below is a pic of the M14 mag with the slot, and with the original M14 follower...
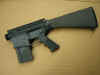
I bought an AR-10™ upper receiver and all the fire control parts. I black anodized the lower that I machined, and I fit together what parts I had. Here's what it looked like...
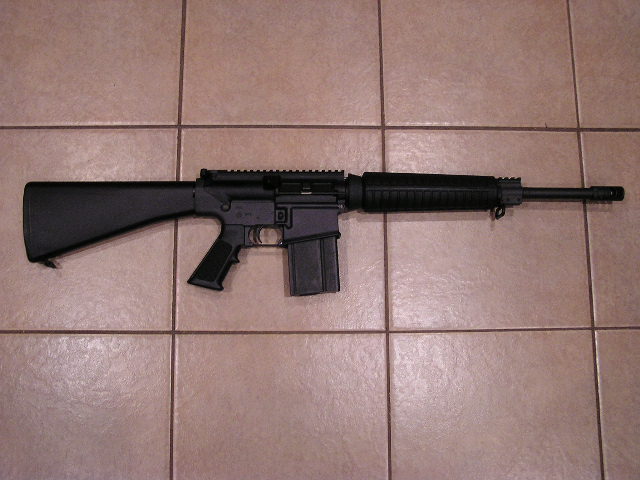
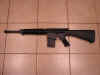
AR-10™ parts are very expensive, so I could only buy a few parts at a time. But I was finally able to buy all the parts I needed to complete this rifle. Notice there is no scope on the completed rifle, this is because my funds were completely dry. But I do hope to one day to buy a really nice scope to mount to this rifle. Here's a pic of the right side...
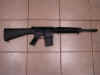
Here's the left side...
After I had the rifle completed, it was ready for her first shots. I was so excited to finally have a high power AR type rifle. After the first shots, I couldn't believe the POWER difference between the AR-10™ and the AR-15. I WAS IN LOVE!!! I don't currently have any plans on making the AR-10™ upper receiver. The main reason for this is because to drill the hole through the upper would be more of a pain than the AR-15 upper receiver, since it is a bigger and deeper hole. Another reason is because I don't have the AR-10™ upper receiver solid model, and I currently don't have the energy to make the model. But maybe one day. I hope you enjoyed this project as much as I did.
For
the latest updates on these AR10 lowers,
please check my NEWS
page.